So You Want to Dye Some
Stock Class Paintball Tubes?
Dyeing ten round tubes (and other stuff!) is a fun and easy way to personalize your tubes,
the possibilities are endless.

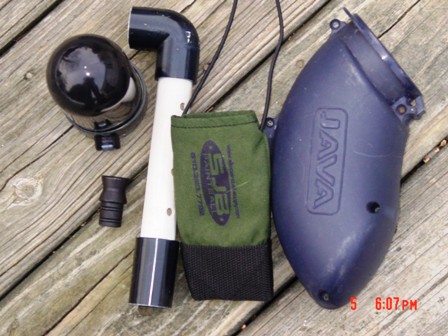
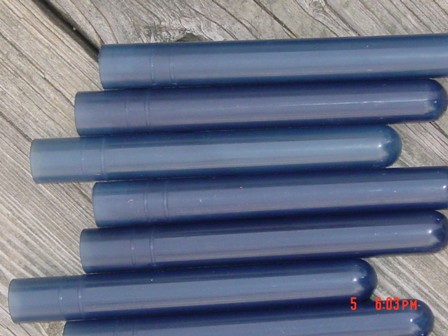
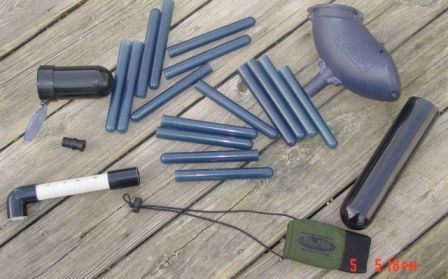
All of these Items have
been dyed using the below procedure
First, youíre going to need some
materials:
For the pot, I would recommend an old
Stainless Steel pot. I have used this kind, and it does not
seem to ruin the pot. However, still make sure to use an
unwanted pot. The gloves are so you do not burn or dye
yourself, and like stated above, they are highly recommended.
If it is warm outside, try using a heating device that plugs
in and could be used outside.
The Process:
The process of dyeing tubes is really
very simple. First, put on your old clothes and/or apron if
you have not already. Pair of shop goggles is also a good
idea; the package clearly warns that the product contains
salt, which is an eye irritant. You donít want it splashing
into your eyes. Next, you will have to fill up your pot with
the desired amount of water. No more than 3 gallons, depending
on the pot size. You can measure how much water you are
putting in by using a milk carton or something similar. Put
the pot on a large burner and let it heat up. In the middle of
heating, put in the RIT dye. You will have to experiment with
ratios of dye to water, because there is no set ratio.
Remember-RIT dye is really a fabric dye. About half a bottle
of liquid dye per two gallons of water should be fine. Donít
be afraid to add more dye as needed. The powder version may be
a bit harder to use, as it has to dissolve. In the past I have
just used one packet and it worked fine. While the mixture is
heating, cover the surrounding areas with newspaper. Under the
newspaper, put some plastic bags. When I say cover, I mean
cover-even if it means taping newspaper to the surrounding
walls. RIT Dye WILL dye surrounding objects if it splashes.
DO NOT put the newspaper too close to the burner. Have the
towels in reach. If the dye splashes, you will be able to wipe
it up really quick, preventing stains. At this time, put on
your gloves, put your tongs close by, and get ready to dye
some tubes.
The key to dyeing tubes is temperature
and time. The water should be at or just under a very slight
boil. Too high of a temperature will make the tubes too soft
and they will lose their shape. However, too low of a
temperature and the tubes will take forever to dye. There is
no set time for dyeing tubes, so make sure you have nothing
planned. You may find yourself sitting next to a pot of hot
water for hours. You must remember to be patient.
When you reach the desired temperature,
start putting tubes into the mixture. Stir regularly so the
tubes do not just sit in one spot. You donít want half
dyed tubes, now do you? Be careful when adding tubes,
because if you just drop them in, the dye will splash and make
a mess. Stay by the pot and do not leave to make sure
nothing goes wrong. Every once in a while, take out a tube
using the tongs. Grab a towel and hold it under the tube while
you carefully carry the tube to the sink. Rinse the tube off
and inspect the color. If you like it, set it aside. If not,
put it back into the pot. Continue this process until all
tubes are done.

Now it is time for the cleanup, how fun.
Turn off the stove and let the pot and water cool down for a
bit. Meanwhile, wash off the tubes in the sink. Wash them
until dye stops coming off. Not much dye should come off, if
any, as the dyeing process is permanent. After that, it should
be fine to take off your gloves. Carefully remove all of the
newspaper and plastic. By now the pot should be cool. Take it
off of the stove carefully and look for a spot to dump it.
Somewhere in your far backyard should be OK.
(Editors note: RIT dye does not
specify proper disposal, however they include ďwashing
machineĒ instructions for fabric in their packaging, so it
would be safe to assume it is not harmful to plumbing.)
Finally, stand back and double check your
work area for splotches of dye, a product containing bleach
lift soft scrub can take care of any remaining spots, be sure
to follow their package directions and read their warnings
first so you donít ruin your counter top.
Donít be afraid to experiment:
-
-Experiment with ratios of dye to water.
-
-Try taping off areas of your tubes for a
striped or spiral pattern
-
-Donít stop at just tubes! You can dye
delrin plastic, PVC, hoppers, pods, caps, and of course
fabric.
-
-Try color combinations
-
-Try getting tubes to sink. This darkens
the color greatly.
Colors will probably never come out
the same as the colors on the package.
This small guide is only for tubes. PVC
and delrin will actually come out black when trying to make
black. This may be because the plastics are heavier and they
sink, but who knows?

Have fun and donít make too big of a
mess. Remember to experiment.
Thanks to Chemical X, easix6,
Mithrandir, and others from
www.stockclasspaintball.com and other message boards and
internet website which I have learned.
(Pictures will be added soon)
-